

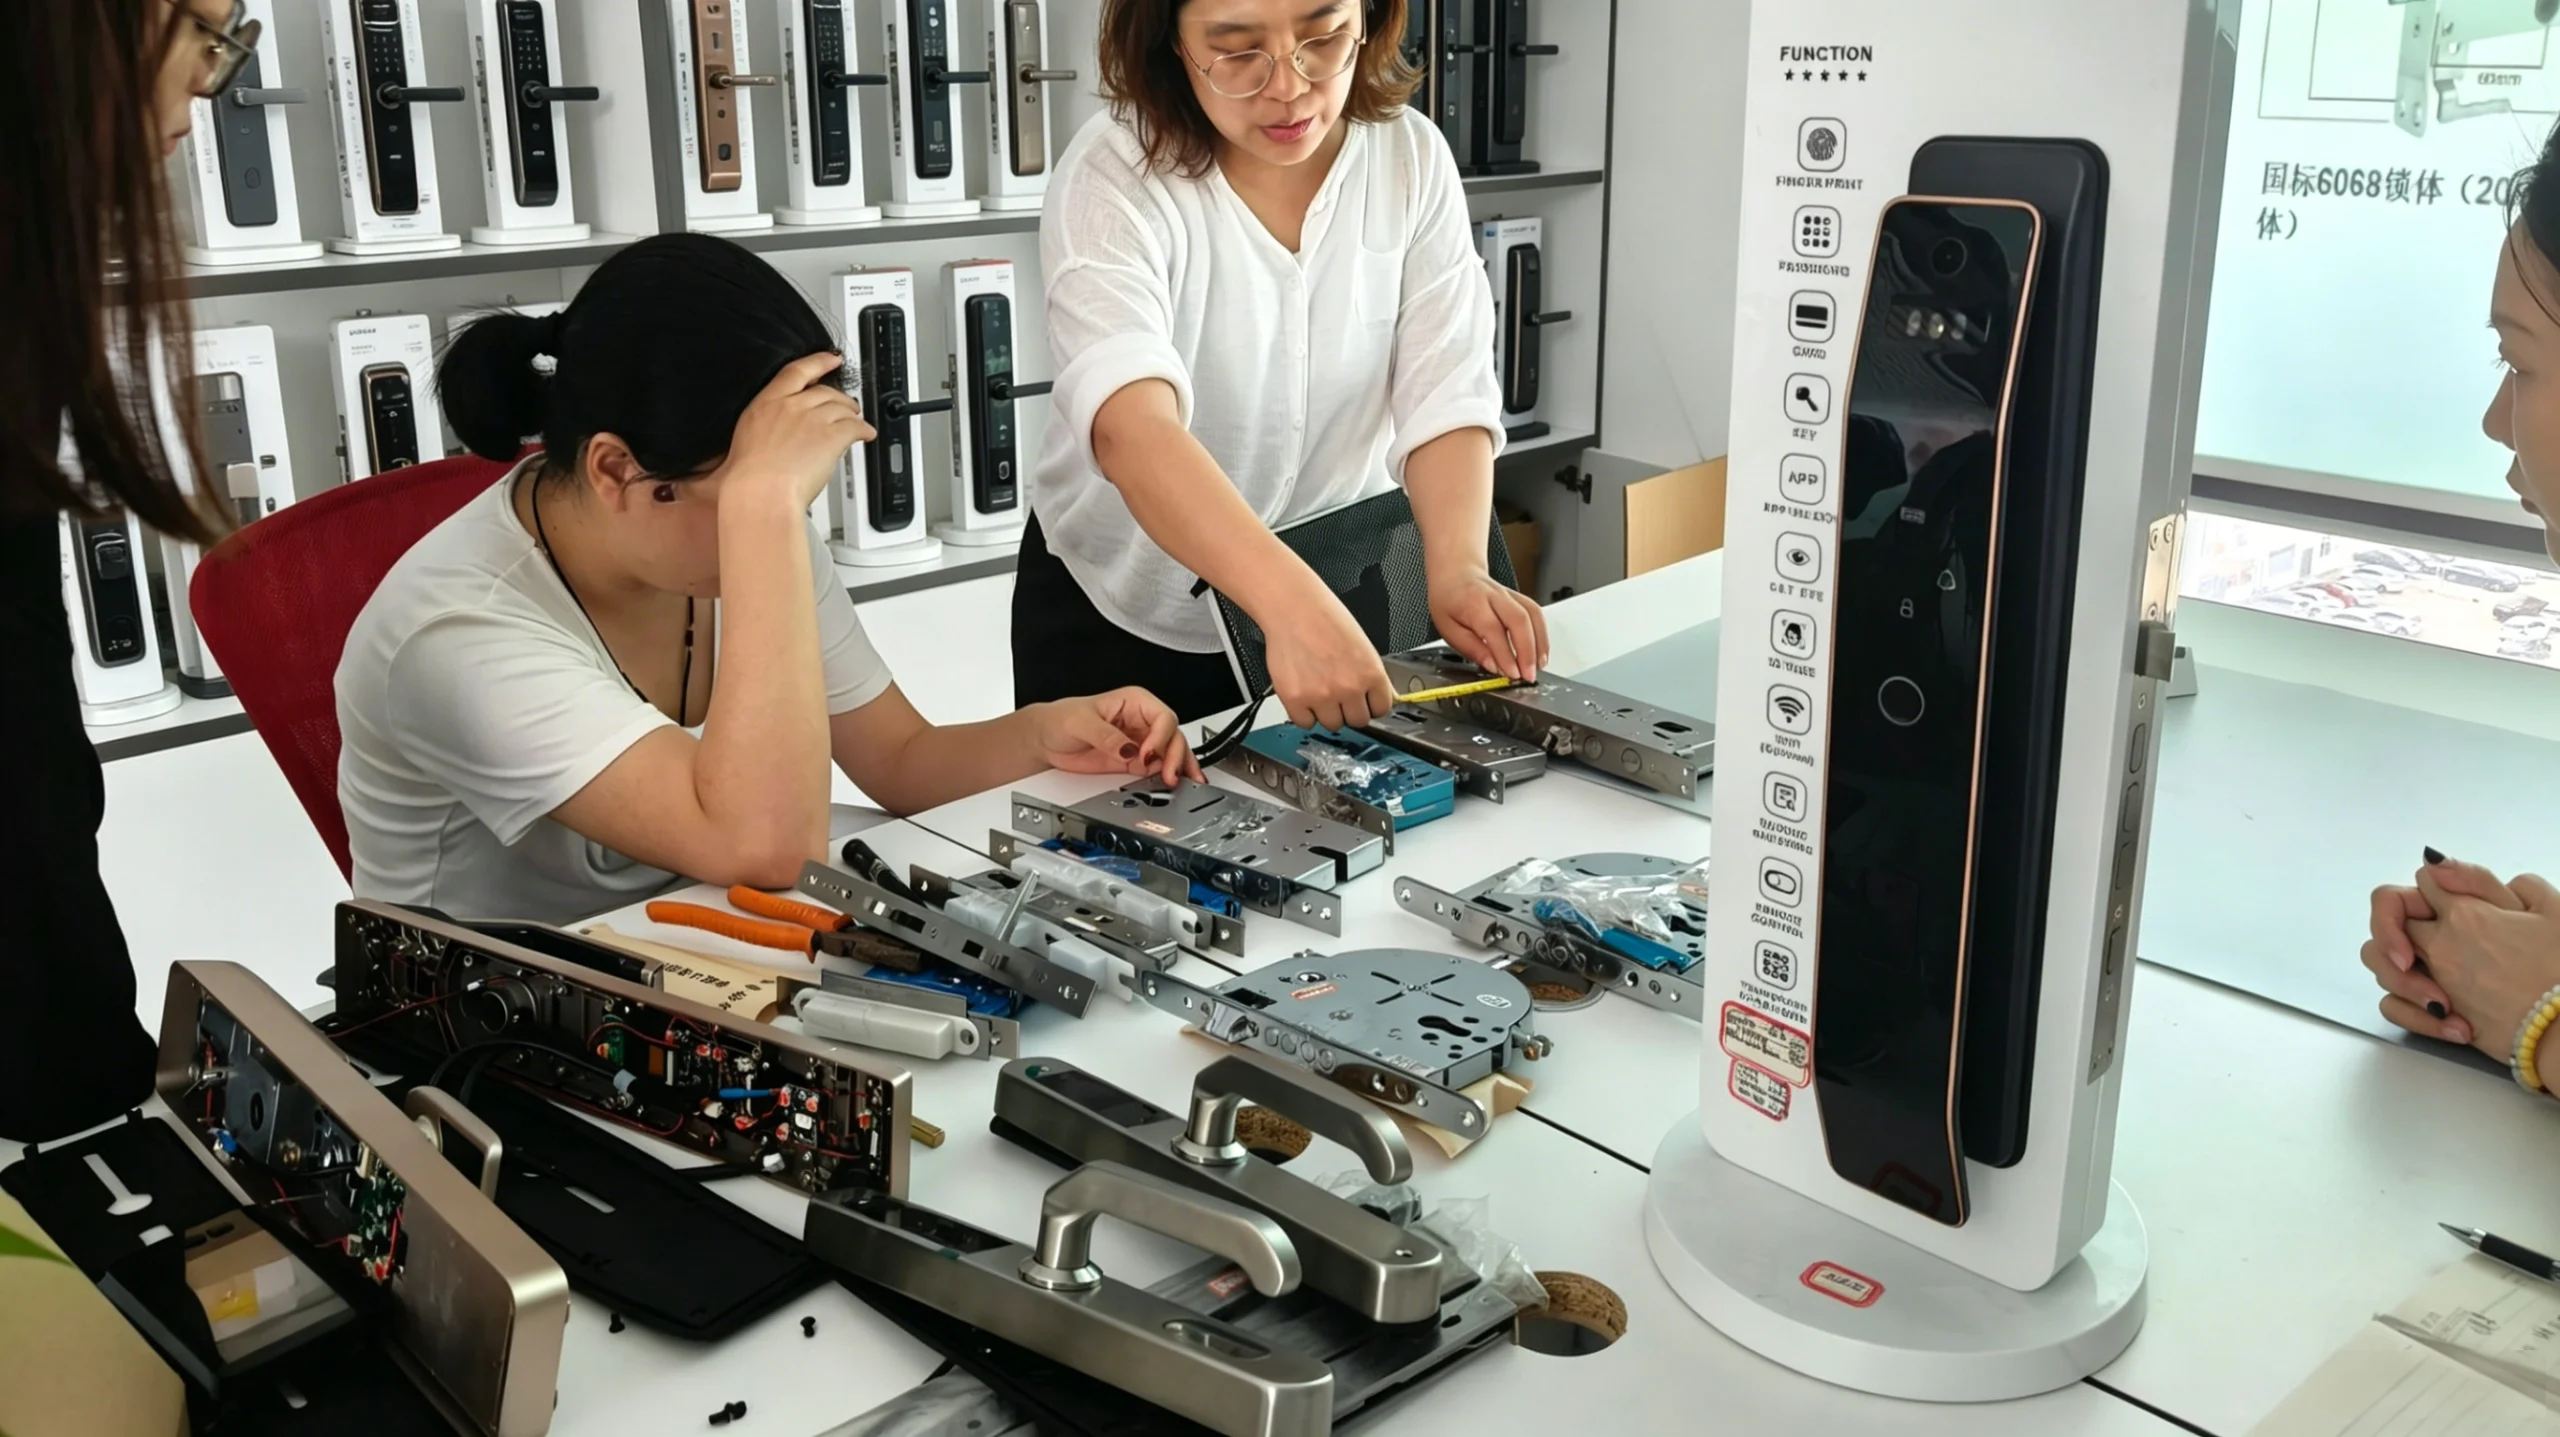
Résumé : This article presents a systematic smart lock installation acceptance checklist, covering hardware inspection, functional testing, and security settings. It enables users to fully verify the installation quality after new installation or replacement and eliminate potential hidden dangers.
After a smart lock is installed, simply checking whether the lock can open and close normally is not sufficient. Many hidden problems, such as installation misalignment, loose screws, and incomplete permission configuration, only appear weeks after daily use. Below is a 12-item professional acceptance checklist for comprehensive post-installation verification.
Part 1: Hardware Installation Inspection (5 Items)
1. Check whether the panel is flat and closely fitted
Press both indoor and outdoor panels manually. There should be no shaking, warping, or obvious gaps. If rubber gaskets are installed between the panel and the door body, ensure full and tight fitting without offset or compression deformation.
2. Check whether all screws are properly fastened
All fixing screws should be tightened firmly to eliminate panel shaking. Do not over-tighten the screws, as excessive force may cause panel deformation or damage internal wiring and flexible cables.
3. Verify smooth extension and retraction of lock bolts
Keep the door open, and manually operate the lock bolt extension and retraction through the indoor knob or mechanical key. The bolt should move smoothly without jamming, stuttering, or abnormal friction noise. If the bolt can rebound freely after being pressed out, the internal spring structure works normally.
4. Confirm accurate alignment between lock bolt and strike plate
Close the door gently and observe the locking position. The lock bolt should accurately enter the center of the strike plate hole. If the bolt rubs against the metal edge of the strike plate (with visible scratch marks) or the door needs to be pushed hard to lock completely, the alignment is incorrect and requires timely adjustment.
5. Check whether the square spindle length is appropriate
Rotate both indoor and outdoor handles. The rotation resistance of both sides should be basically consistent. If one side spins idly with too loose resistance or is too tight to rotate, the square spindle length is inappropriate (too long or too short) and needs to be recut and reinstalled.
Part 2: Functional Testing (4 Items)
6. Test all unlocking methods for stability
Test all supported unlocking modes including fingerprint, passcode, IC card, Bluetooth/remote mobile unlock, and mechanical key. Perform each unlocking method at least 3 consecutive times to ensure a 100% success rate without failure or delay.
7. Test indoor anti-lock function
Activate the indoor anti-lock knob or anti-lock key. After anti-locking, all outdoor unlocking methods (including administrator fingerprint and passcode) should be invalid and unable to open the door. The door should return to normal after canceling the anti-lock state.
8. Verify automatic locking function (if supported)
If the smart lock is equipped with an auto-lock function, confirm that the lock bolt automatically pops out within the set time (usually 3~10 seconds) after door closure. Repeat the test more than 5 times to ensure stable and consistent triggering every time.
9. Test all alarm functions
Tamper-proof alarm: Gently shake or pull the lock panel outward. The lock should trigger an alarm sound and push a tamper alert notification to the bound mobile App.
Wrong entry lockout alarm: Enter incorrect passwords continuously for 5 times. The lock should automatically lock the operation interface and trigger an alarm (the locked duration is usually 1~5 minutes).
Part 3: Software & Security Settings (3 Items)
10. Confirm successful mobile App binding
Verify that the smart lock is successfully paired and bound with the mobile App. Check that real-time door status, unlocking records, and remaining battery level can be viewed normally without connection failure or data delay.
11. Complete administrator permission configuration
– Register at least 2 administrator fingerprints or passwords for backup use.
– Modify the factory default administrator password; do not use simple fixed combinations such as 123456 or 000000.
– Test administrator privileges to freely add and delete ordinary user credentials to ensure complete permission control.
12. Update firmware to the latest version
Check the device firmware version via the mobile App. If a new version is available, complete the upgrade under stable Wi-Fi network conditions. Do not cut off power or operate the lock during the upgrade process to avoid system damage.
Solutions for Installation Problems
Minor problems (fine adjustment): For slight alignment deviation, adjust the position of the strike plate with a screwdriver or add gaskets behind the strike plate for calibration.
Major problems (structural failure): For panel deformation, stuck lock bolt, circuit failure and other serious faults, contact the installer or official after-sales team immediately for re-installation and maintenance.
Important Notes
Do not tear off the panel protective film before the acceptance is completed to avoid accidental scratches. Do not input all family user information in advance; confirm all hardware and functions are normal before batch user registration.
Conclusion
A 15-minute careful post-installation acceptance can effectively avoid frequent failures and hidden safety risks in future use. Save this checklist for every smart lock installation, replacement, and inspection to ensure long-term stable and safe operation of your smart lock.